electron-vite electron-updater软件自动更新
Sonder
2024-11-20
2001字
5分钟
浏览 (298)
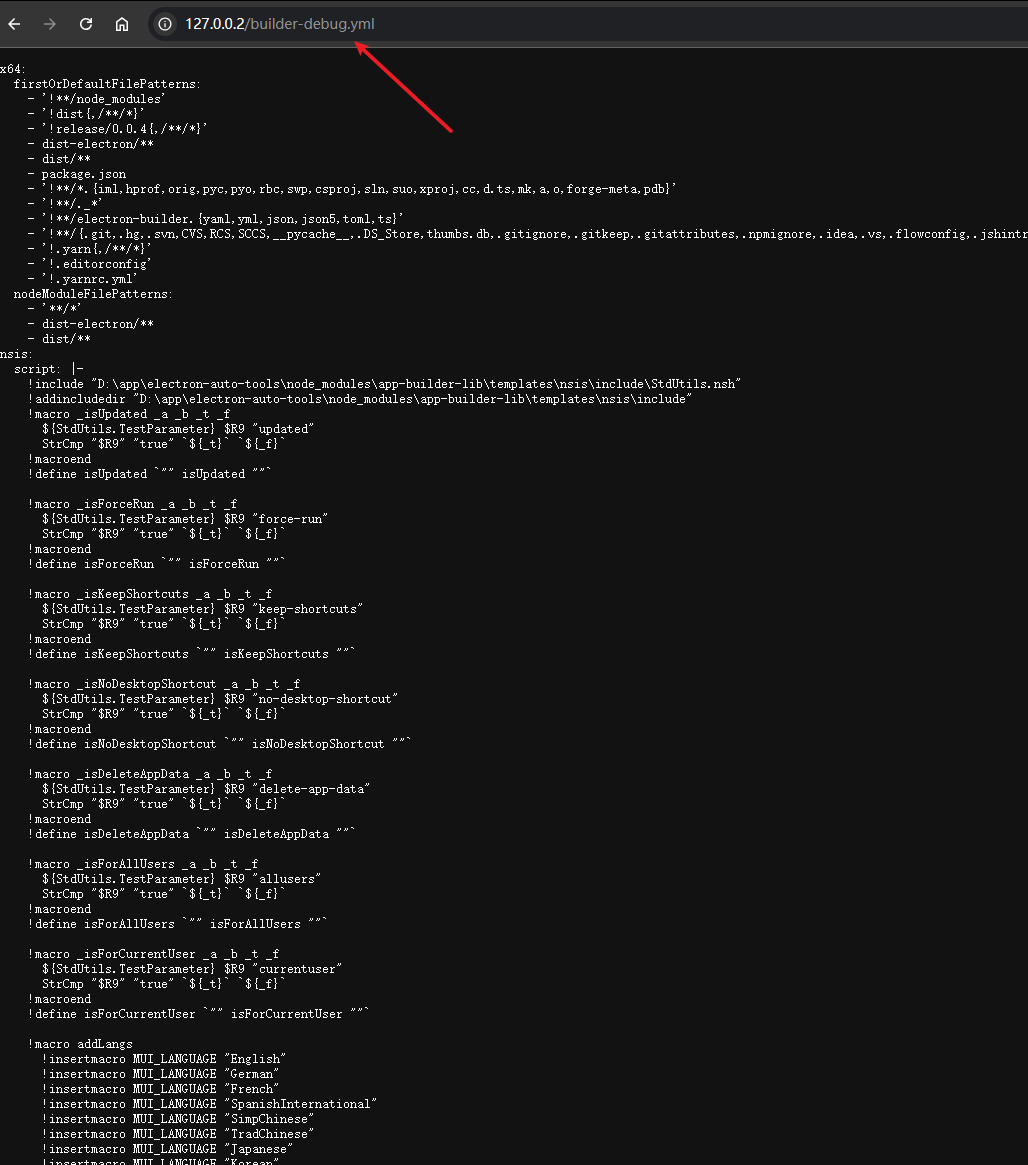
第一步 测试打包好的文件是否可访问
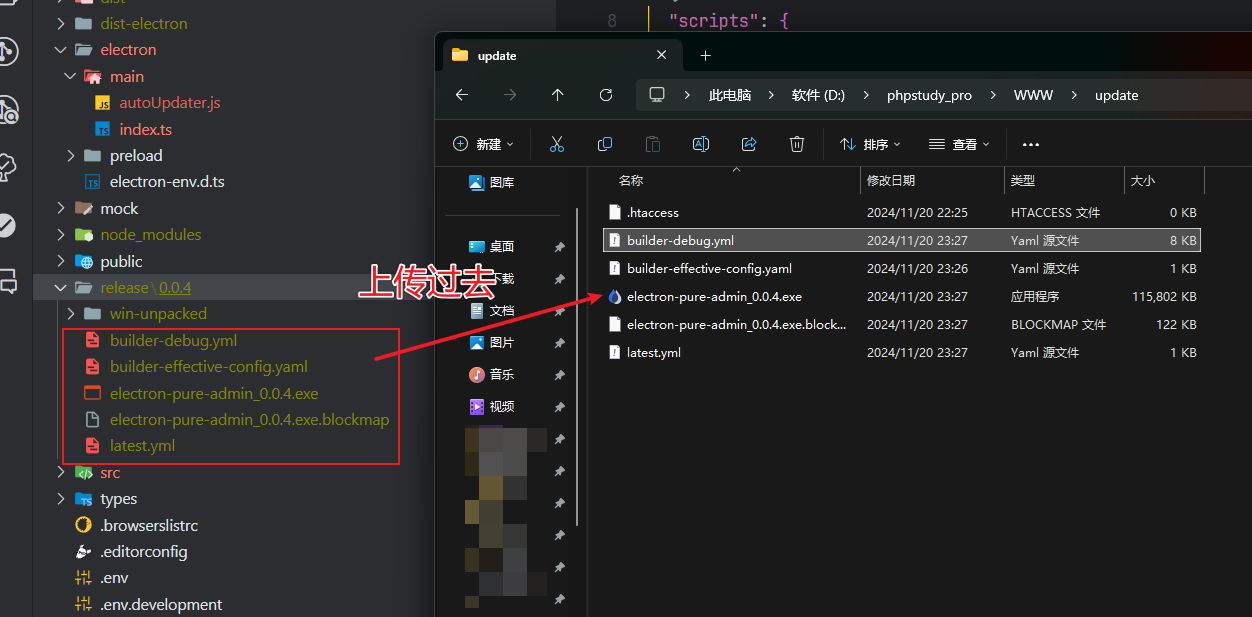
假设这是远程服务器目录列表。可以通过连接访问或直接下载yml。
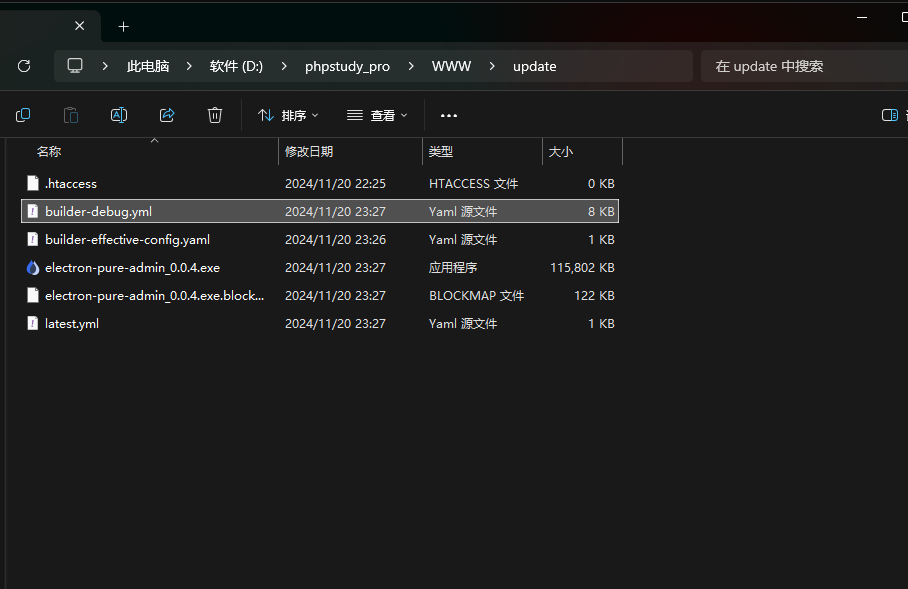
远程目录必须要提前有文件这些。*.exe 和 latest.yml 这两个
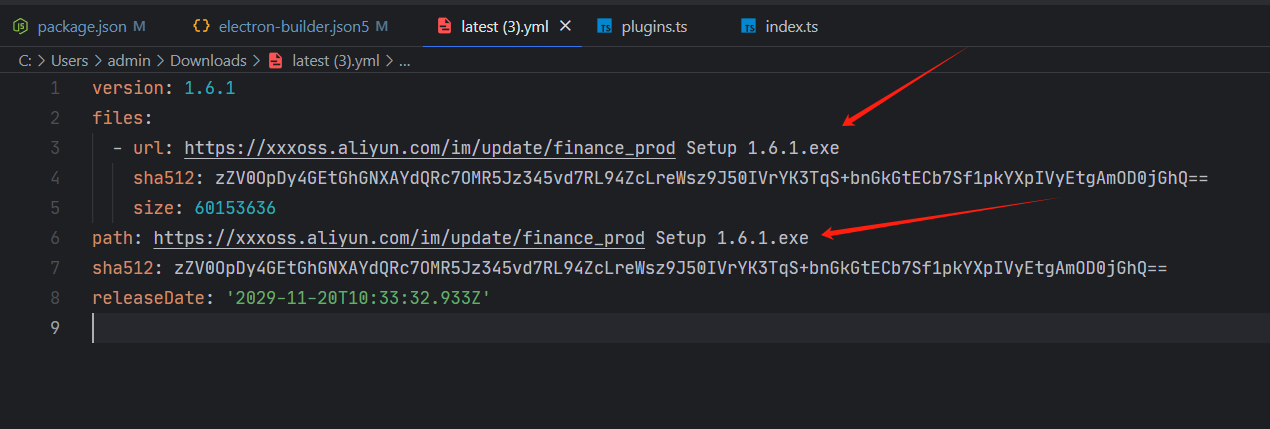
TIP: 如果你公司有oss,那么你就要修改latest.yml里面的url和path路径
第二步 设置publish
在electron-builder.json5添加以下代码:
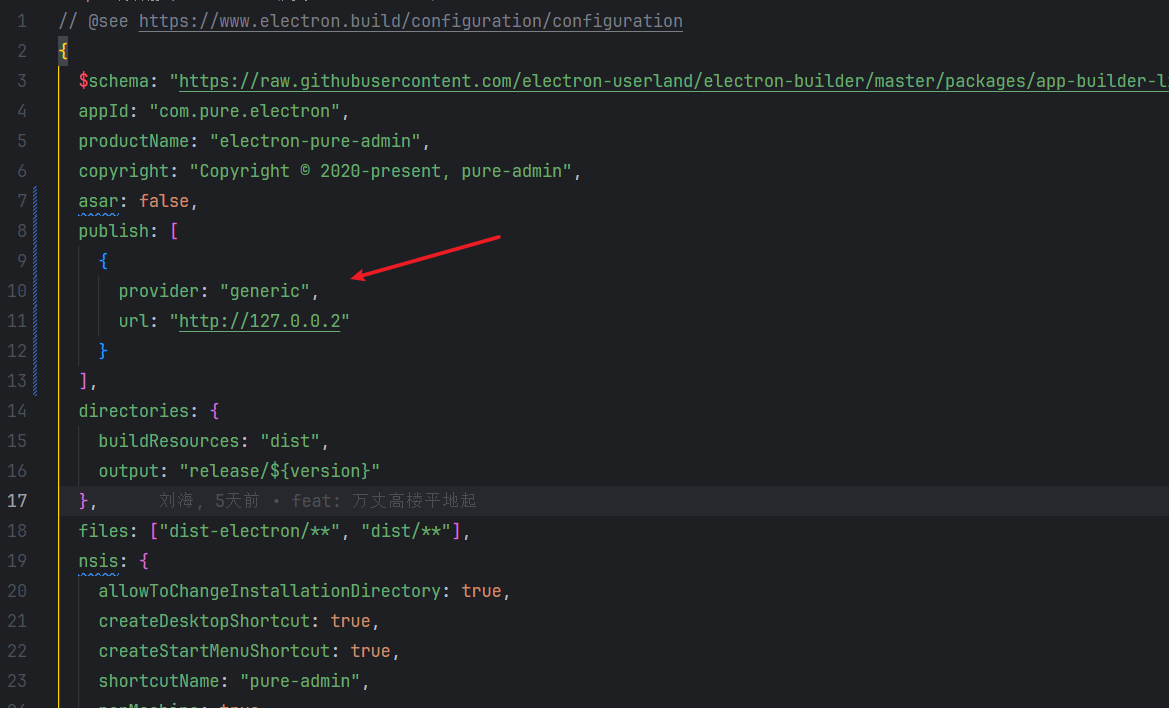
publish: [
  {
    provider: "generic",
    url: "http://127.0.0.2"
  }
],
第三步 添加autoUpdater方法
在electron/main添加自动打包的方法
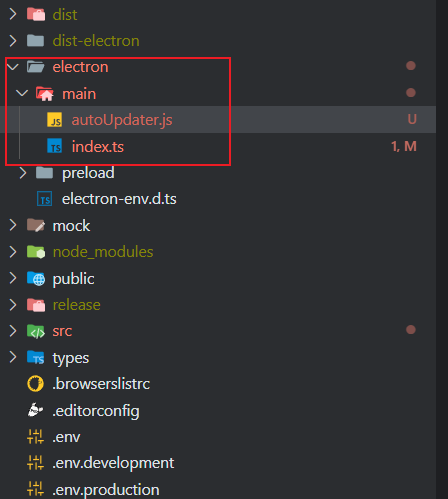
yarn add electron-updater// index.ts
import autoUpdater from "./autoUpdater";
app.whenReady().then(() => {
createWindow();
// 一次更新检车
autoUpdater();
});autoUpdater方法;(点击展开代码)
// autoUpdater.js
import { dialog } from "electron";
import pkg from "electron-updater";
const { autoUpdater } = pkg;

//自动下载更新
autoUpdater.autoDownload = false;
//退出时自动安装更新
autoUpdater.autoInstallOnAppQuit = false;

export default () => {
 // 设置更新源url
 autoUpdater.setFeedURL("http://127.0.0.2:80");
 //检查是否有更新
 autoUpdater.checkForUpdates();

 //有新版本时
 autoUpdater.on("update-available", _info => {
   console.log("有新版本");
   dialog
     .showMessageBox({
       type: "warning",
       title: "更新提示",
       message: "有新版本发布了",
       buttons: ["更新", "取消"],
       cancelId: 1
     })
     .then(res => {
       if (res.response == 0) {
         //开始下载更新
         autoUpdater.downloadUpdate();
       }
     });
 });

 //没有新版本时
 autoUpdater.on("update-not-available", _info => {
   console.log("没有更新");
 });

 //更新下载完毕
 autoUpdater.on("update-downloaded", _info => {
   //退出并安装更新
   autoUpdater.quitAndInstall();
 });

 //更新发生错误
 autoUpdater.on("error", _info => {
   console.log("更新时发生错误");
 });

 // 监听下载进度
 autoUpdater.on("download-progress", progress => {
   console.log(`更新进度,${JSON.stringify(progress)}`);
 });
};
第四步 注意项
第1. 打包之前的时候要修改package.json里面的版本号
"version": "0.0.4",第2. 每次打包好的文件要上传到远程目录
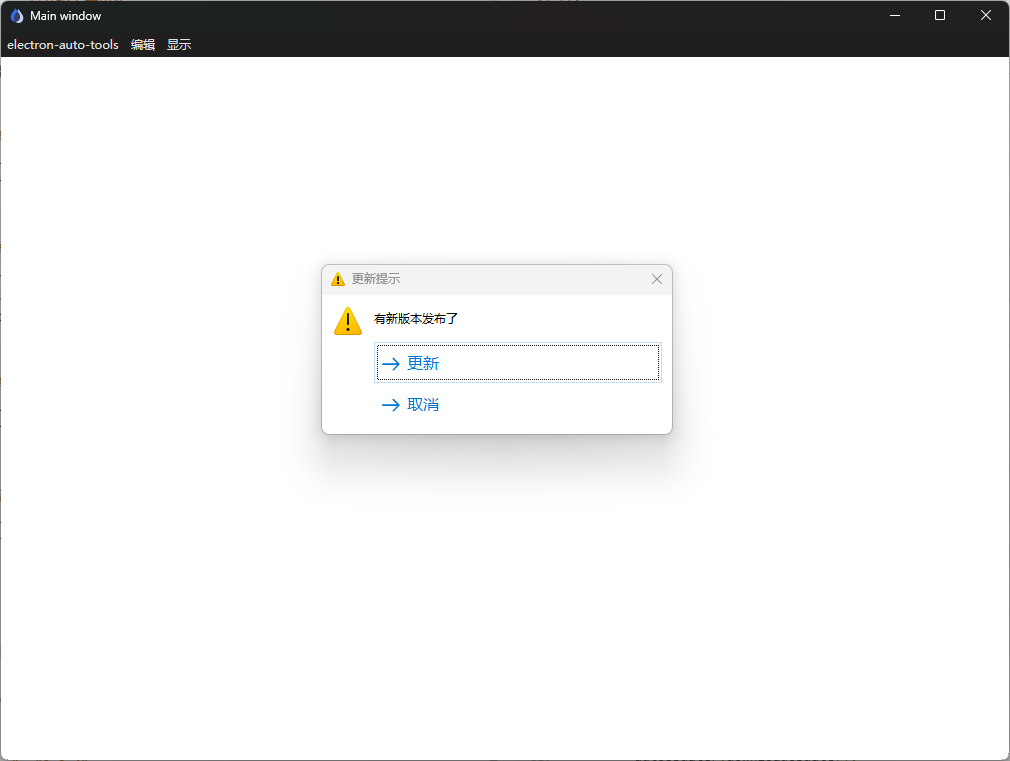
第3. 重启软件的时候就会出现更新提示
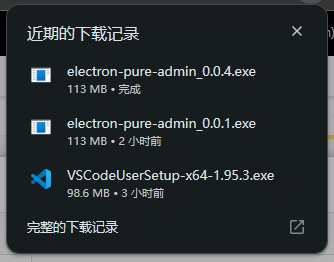
第4. 必须保证远程exe文件可以下载
http://127.0.0.2/electron-pure-admin_0.0.4.exe
第5. exe 用 oss 存储
如果你公司有oss,那么你就要修改latest.yml里面的url和path路径

